Starlink eave mount is another popular and effective way to expose your dish for a better signal. It involves installing a mast on the eave of the roof.
An eave is simply the edge of the roof that overhangs the exterior siding.
We offer you tips for doing your own eave mount installation for your Starlink dish.
However, the process and the requirements may slightly vary depending on the exact spot you are installing the dish.
For instance, Starlink under the eave mount may slightly have a different requirement from how you will carry out the fascia board installation.
The size of the dish will also come with different requirements. We will walk you through installing a heavy-duty adjustable dish mount.
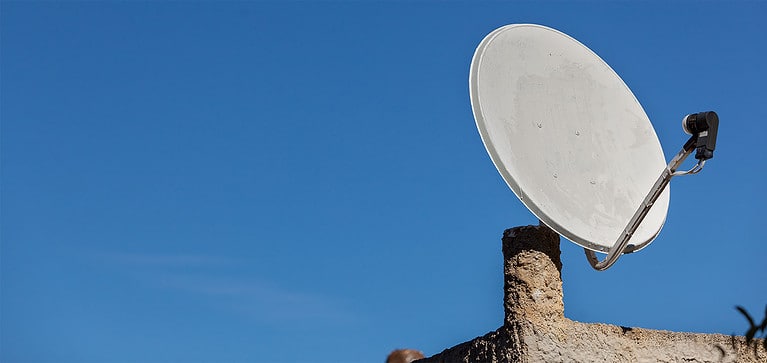
Satellite dish mount on the eave of a roof
Table of Contents
- How to Assemble Heavy-Duty Adjustable Eave Mount
- Starlink Eave Mount Installation
- Run the Cables and Install the Starlink Dish
- Final Verdict
How to Assemble Heavy-Duty Adjustable Eave Mount
Planning for the Installation
Determine the Spot for Your Installation
You should install the dish in an area free from obstructions. Moreover, a heavy-duty eave mount requires a strong fascia board, so make sure the spot will support the mast.
Also, consider the length of the mast- it should go with your roof pitch. The spot should also make the wiring easier.
Gather the Required Tools and Accessories
Before you start the project, there are tools and accessories that you will have to gather.
The tool and the accessories you require for this job may vary depending on your building material, where you install the eave mount, and how you want to finish the installation.
The basic tools you may require include:
- Extension ladder for installing the mount on the roof eave.
- Step ladder to help in the installation of the cable run
- Two Wrenches; one for a lag bolt, preferably 5/16”, and another for fastening QADAPT onto the mast, preferably ½”.
- Torpedo Level for leveling the eave mount on the mark locations.
- 1” Drill bit and other bits including the ⅛”.
- Pencil for marking hole locations
Remember after installing the mount, you will carry out other activities such as running the cable and creating holes at the point of entry on your building.
For that reason, you may need some accessories including:
- Screwdriver for wall plate
- Silicone sealant/steel wool for filling points of entry holes.
- Clips for holding Starlink cable in place, from the antenna to your modem.
- A tape, Rubber, or Plastic hose to cover the cables for protection.
- Guy wires for stabilizing the mast.
What is included in the eave mount kit
- Adjustable eave mount, 45” to 60”
- Two Lag Bolts
- 3” Stand-Off Mount
Ensure you have a mast with appropriate length and diameter.
Starlink dishes come with a mast which, in most cases, is not long enough for most mount methods.
If that is the case, ensure you get the right diameter and length of the mast that places your dish well above the roof line.
If you need a mast that will go way up above your roof, say 5 ft, you will need to use guy wires to stabilize it more so when dealing with a large dish.
In terms of diameter, most eave mounts can accommodate masts 1.5” and 2.5”.
Starlink Eave Mount Installation
You will have three mounting points:
Installing upper stand-off to facia board (W-bracket)
You install this to the fascia board at the peak of the roof as follows:
- Use the level to center the bracket. Drill the pilot hole on your fascia board each for the two lag bolts.
- Attach the W-bracket on the facia board using the included lags. Remember to leave it loose until you insert the mast.
Assembling and Installing the lower Bracket on the Fascia board
You start by measuring the span or length you would want to install the lower bucket then assemble the lower mast bracket to a length that fits your measurement.
To assemble the lower bracket, proceed as follows:
- Bring the two lower sections together by placing one half on top of the other with the back matching. Ensure the square bolt holes align. The overall length of the bracket should also be appropriate for the span you measured.
- Use the bolts with nuts provided to secure the two brackets together.
- On the center two holes, put two long bolts provided through the back of the bracket.
When it comes to installing the bracket on the fascia board, you may need a helper.
- Using the level, position the lower bracket then mark two lag bolt holes.
- Drill pit holes for each, about ⅛”
- Firmly tighten the two bolts carefully avoiding striping the pilot holes.
Install the Mast
- Place the bottom of the mast to rest on the lower bracket.
- Drill a hole into the mast, using the mast clamp strap center hole – use either the upper or lower hole on the clamp strap.
- Secure the mast by tightening the mast clamp strap nuts.
- Drive the top of the mast down the upper bracket. Then tighten it on the upper bracket.
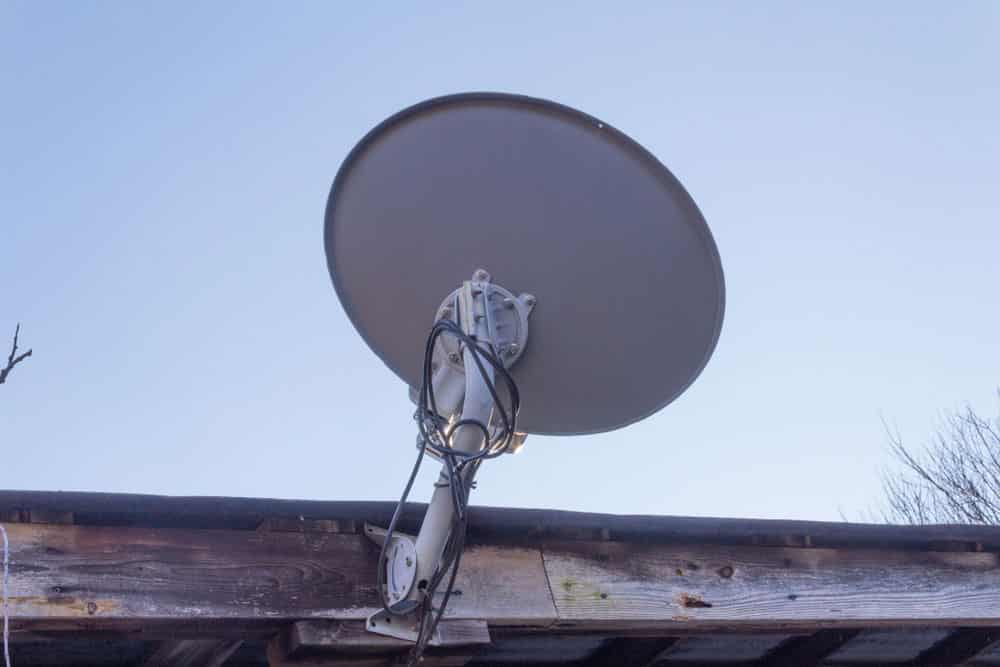
Starlink dish on a fascia board
Run the Cables and Install the Starlink Dish
You can now do the necessary wiring and mount the dish. Starlink offers an app that will help align the dish for a better signal.
Refer to the manual to guide you on how to run the cables until you connect your modem.
Once done, power up the Starlink dish and test if it is working well.
Final Verdict
Mounting Starlink dishes on the eave of the roof can be very simple if you follow our step-by-step guide.
If you are not sure of your ability, don’t attempt the installation. Instead, contact a professional for help.
