After getting the Starlink dish, your Starlink mount location and installation will determine if you get a crystal clear signal or lousy reception.
The key to getting excellent Starlink internet reception is a Starlink mount with unobstructed views, unshakable poles, and strong braces.
You might fiddle with several aftermarket kits before you get the best full kit for the mount.
If you’re already on the Starlink waiting list, follow this guide for insights on mounting accessories and tips.
Table of Contents
How to check for obstructions
Before setting up the Starlink mount, you must get around any obstructions.
Since the mounting kits aren’t usually too high up, you’ll need a clear view and airspace.
Where Are Your Starlink Mount Obstructions?
There’s still a limited number of Starlink satellites in orbit currently.
Therefore, you will need all the space you can get to receive a clear signal.
The most common obstructions are buildings, trees, communication towers, and utility poles. Here’s how to check for obstructions.
Starlink recommends you get a 100-degree cone-shaped view of unobstructed airspace.
However, the angle might be more accommodative as Space X launches more Starlink satellites into orbit.
Method 1.
- Place your Starlink dish in your preferred position. It should be a high area with minimal obstruction.
- Leave the Starlink app to compile data on any activity for at least 12 hours.
If the app hasn’t picked any obstructions after the elapsed timeframe, you can mount the Starlink dish using your preferred mount.
Move the dish to a slightly higher and clearer area if the app picks up SOME obstruction after the elapsed time.
Ensure there are no tall structures in the path of the new position.
If the app picks up too many obstructions, find an extension pole, such as a Starlink pole mount.
Alternatively, opt for a tower, especially if you have expansive land.
Method 2.
- Go to your Starlink app. You will find the Visibility Tab on the Home Page.
- Click “Check for obstruction.” The app works with your phone’s camera.
- Move around with your phone pointed to the sky. We recommend you have a partner to ensure you don’t fall as you walk around. The trick is to look for clear blue areas. These are areas with satellite coverage. Blue spots indicate clear areas. Red spots indicate obstructions.
- Another trick is to check for signs of future growth in the clear blue areas. Clear blue areas with tall trees might be problematic in the future. Avoid those areas.
- Once you identify the sweet spot, angle your dish in that direction getting as much clearance as possible.
Note: The app might not work or give accurate results in older smartphone models.
Best Mounts That Work With Starlink
Starlink Base
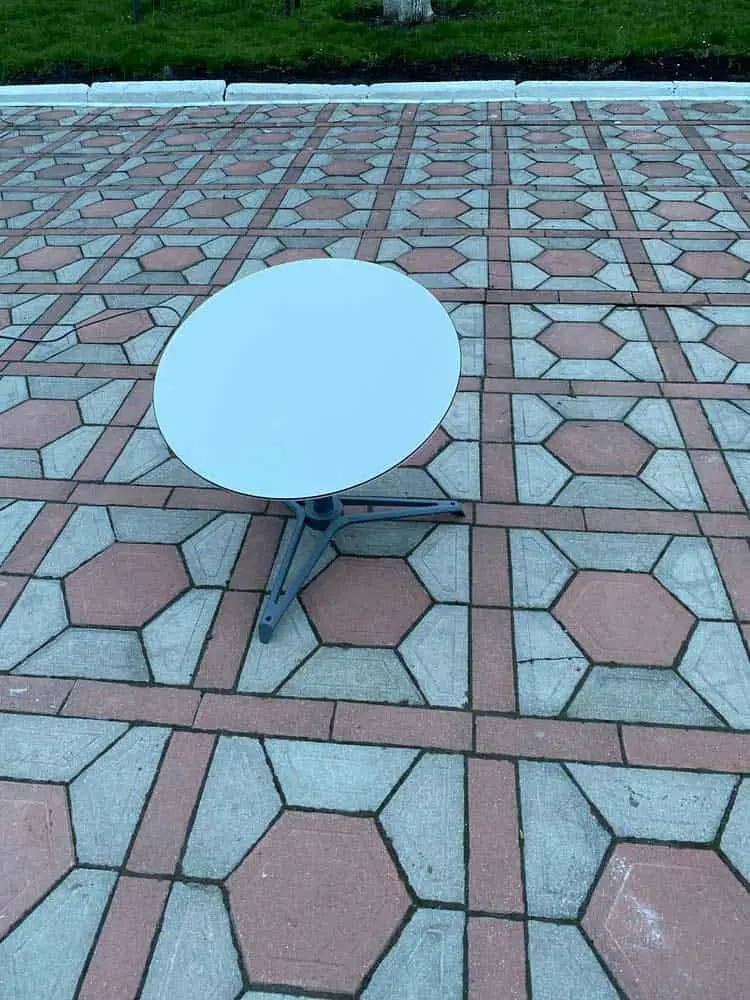
Starlink kit on flat ground
Here’s one mount that comes with the Starlink kit.
The Starlink base is another option when you want to keep things movable.
It already comes pre-drilled, so all you have to do is secure it.
You’ve got a winner if you have a flat root or outdoor area with zero obstruction.
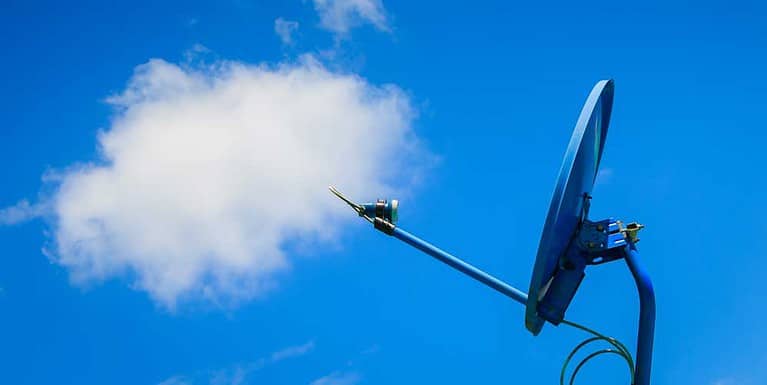
Starlink Pole Mount
This pole mount is arguably one of the best mounts to use with Starlink if you live in open areas.
It’s superb for ground placement or when you don’t want to make any alterations to your roof.
Getting it with a full Starlink kit would be easy since Starlink stocks the pole mount.
You can fix this mount on a concrete foundation or a deck.
Use a Starlink post mount with four stable tek screws to secure it to a deck if you can get an unobstructed angle.
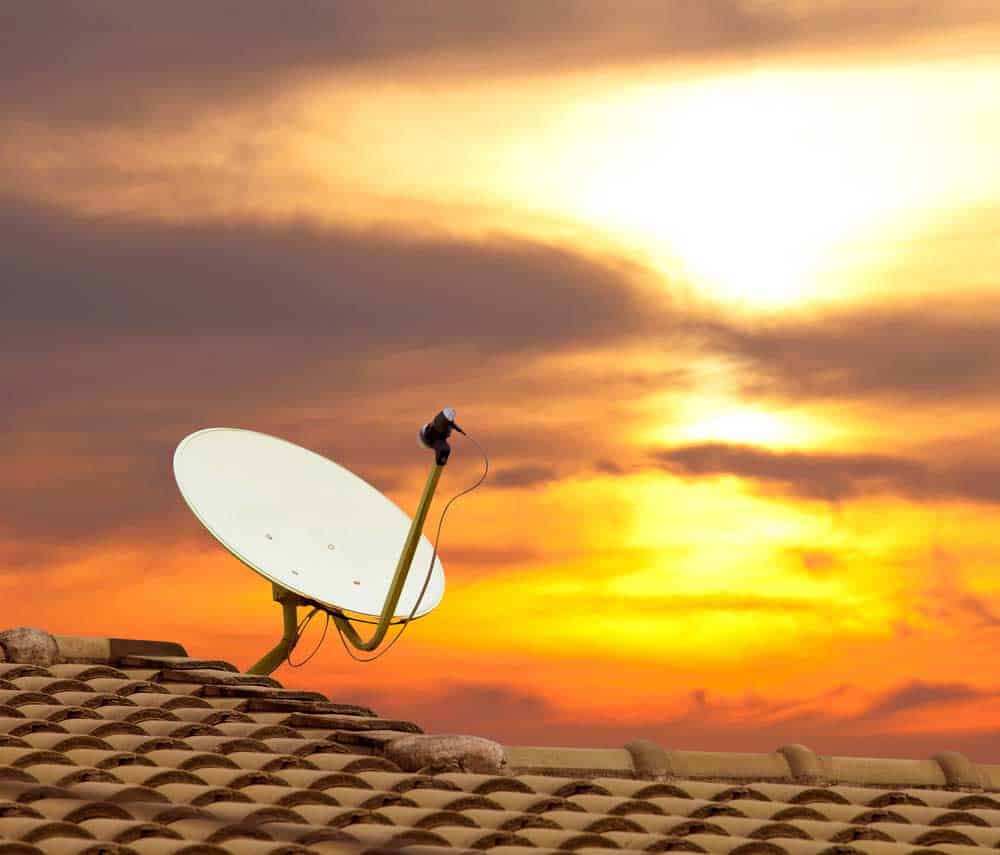
J-Mount
The J-mount has been popular with satellite dishes and antennas, even pre-Starlink.
It’s one of the most popular mounting options that work with Starlink.
It’s a practical mount in homes with pitched roofs.
Furthermore, you can fix it on your home’s siding.
The versatile Winegard DS2000A J-mount pairs well with the Starlink dish on buildings and roofs.
Additionally, it holds steady against strong wind gusts common in minimal-obstruction locations.
Also, it comes with 2” U-bolts to fasten the mount to a Starlink dish. You won’t even need any drilling!
Since the J-mount is about 4 feet maximum, use it in the clearest possible area.
Flashing Mount
A satellite dish was installed between roof shingles
Do you want to hide unsightly cables, experience minimum leakage and keep drilling to a minimum?
The flashing mount meets all these demands.
Yet, you’ll have to use it with a complementary mount, such as a pivot mount.
The flashing mount has a flat panel that fits perfectly into roof shingles.
Consequently, the mount keeps out leakages when there are rains or melted snow.
However, using roof cement to seal the shingle edges would be best.
The cement also steadies the flashing mount against harsh winds.
Non-Penetrating Pitched Roof Mount
If you’re renting a home and want a non-invasive mount, your best bet would be a non-penetrating pitched roof mount.
This mount sits at the peak of a sloped roof.
Moreover, it’s adjustable to your roof’s pitch.
Cinder blocks or sandbags weigh down the mount to keep it steady.
That way, you can move it around.
Starlink has its own non-penetrating pitched roof mount.
Still, you can get an aftermarket one for a pitched roof or flat root.
The sole downside to this mount would be the unimpressive aesthetics of the weights on your roof.
Tripod Mount
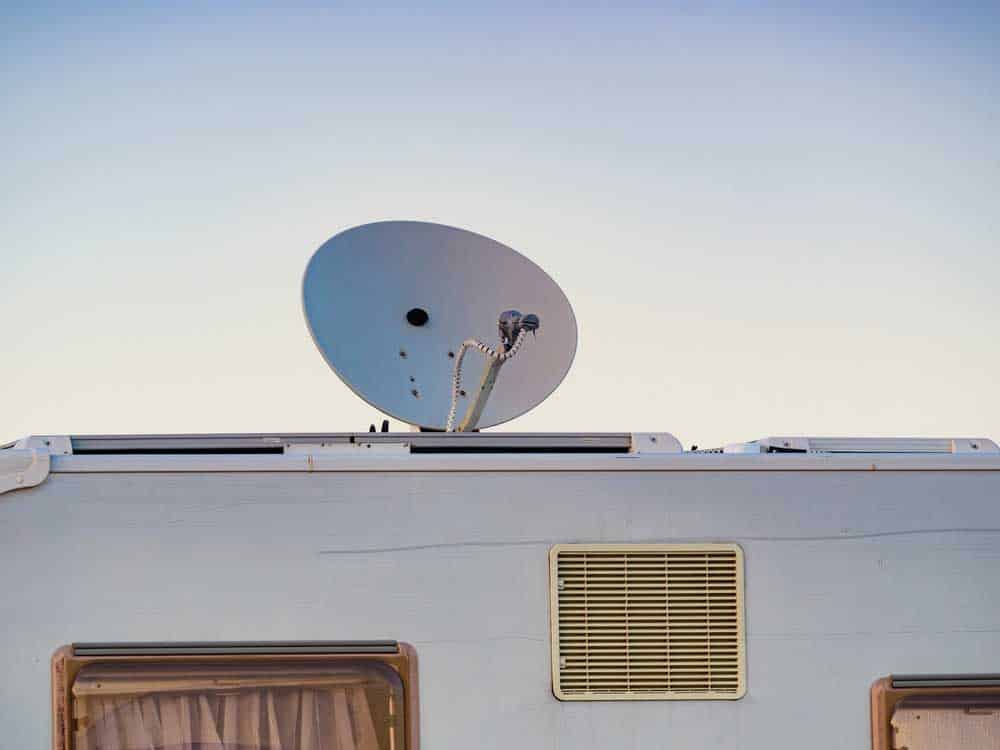
You can use a tripod mount on a stationary RV
Speaking of minimally-invasive and mobile mounts, check out the tripod mount.
The tripod mount works well with Starlink if you are highly mobile and want higher roof elevation.
The tripod mount works best on flat roofs.
However, you can anchor it on flat ground in an area with minimal obstructions.
Secure it with spikes for stability.
Tripod mounts are notoriously shaky against winds.
Therefore, get an aftermarket tripod mount with a heavy base and more extended elevation, such as a Skywalker mast pole dish tripod.
Chimney Mount
Chimney mounts are a smart way of adding elevation to get a clear Starlink signal in an area with obstructions.
They are reliable when you don’t want to mount the Starlink dish on the roof.
These mounts are attached to chimneys using sharp straps.
The straps are typically galvanized steel, making them great against strong winds.
Tower Mount
Admittedly, some areas will have plenty of obstruction.
That doesn’t exclude you from getting a proper signal, especially not when you get a tower mount.
While it’s a heavy financial and time investment, you will tower above most above-average obstructions.
We’re talking 30-40” elevation towers with this option.
If none of the above options fit your situation, explore the options below.
- RV mount: Best for RVs or trailers.
- Short and long wall mount: Great for mounting on roofs and walls
- Volcano mount: Not for steep roofs.
These mounts are structurally sound.
Still, the signal quality and mount integrity can be affected by weather conditions and the environment.
Tips for Starlink Mounts
- Opt for high mounts if you’re setting up in an area with plenty of trees. It’s best if the mount is in a clear area that is unlikely to get blocked by vegetation.
- Also, high snow areas need quickly accessible mounts. A high hoist can put your Starlink dish at risk of excessive snow accumulation. Consequently, you’ll get zero signal since you can’t remove the snow.
- Use strong mounts and steady bases in strong wind areas. Strong winds will shake or even displace your Starlink dish if it’s not mounted properly.
Conclusion
The Starlink website allows you to check availability before you get the Starlink dish and mounts. It is up to you to decide which mount you can use.
You can also use a couple of different mounts to get the clearest signal.
Don’t forget to monitor any interruptions so you know if you should change Starlink mounting systems.
