
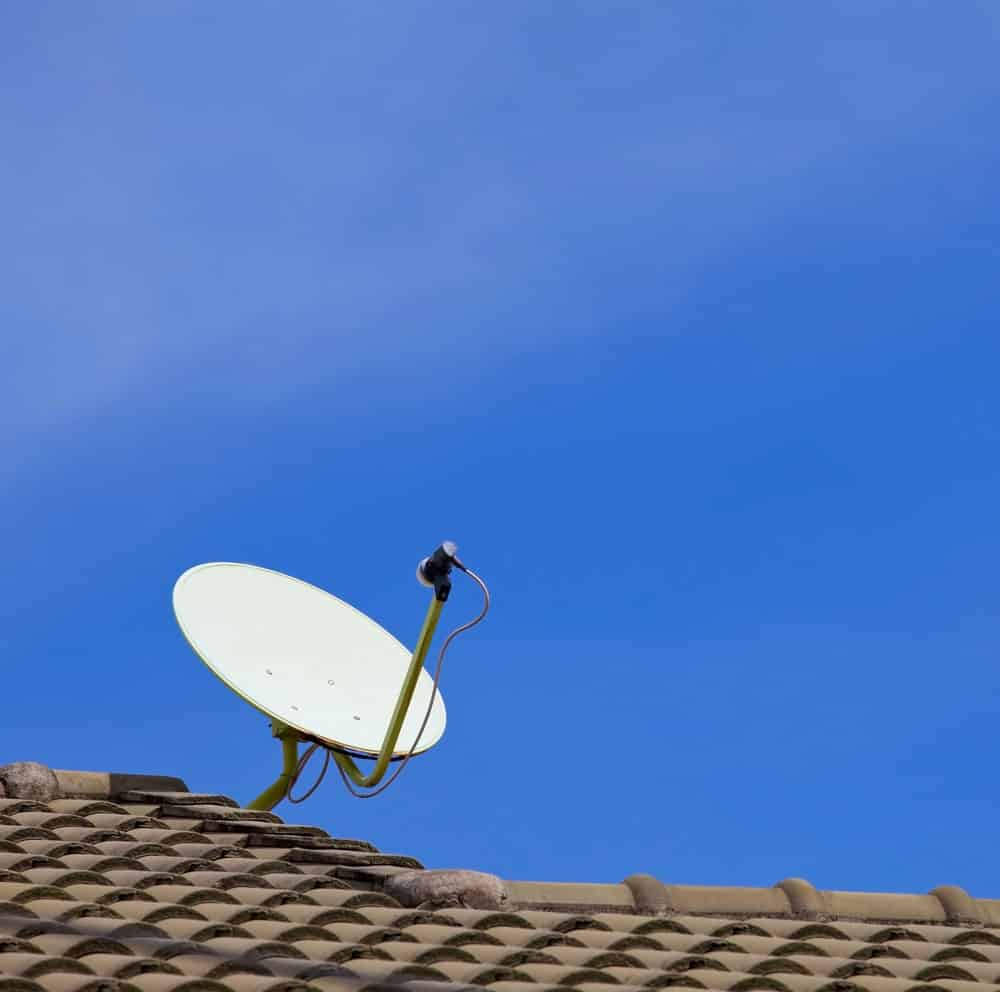
Starlink roof mount has a sleek design maximizes signal strength and provides uninterrupted signal internet access.
Unlike other Starlink mounting methods, roof mount offers you options, which is why it is widely used.
Besides, it is one of the easiest mounting methods to carry out, and you do require a lot of DIY skills to pull the project through.
We offer a step-by-step guide that involves cable setup, volcano mount drilling, secure mounting of the dish, cable routing under the fascia and more.
You will also learn various mounts you can choose for your roof.
Table of Contents
- Types of Starlink Roof Mount
- How to Set Up Your Starlink Dish
- Step-by-step Process of Mounting Starlink Roof Mount Dish
- How Much Does the Starlink Roof Mount Cost?
- FAQs
- Starlink Roof Mount: Final Thought
Types of Starlink Roof Mount
Starlink roof mount kit has a base, but it may not be a permanent solution for you.
That’s why you must choose the correct mount for your dish depending on your budget, roof angle and obstructions.
- Starlink ridgeline mount: this mount is a non-penetrating roof mount for Starlink. You should use anchor panels to rest it flat against the roof. This roof mount kit has a waterproof rubber that provides a solid grip against wind force. You can move the non-penetrating roof mount if you need flexibility later. This mount is not suitable for concrete blocks.
- Starlink volcano roof mount: this mounting is Starlink flat roof; most ideal if you have a flat roof. The volcano roof mount comes with everything you need for installation.
- J-mount: the j-mount is one of the most common satellite dish mounts. They are highly available and affordable. This mount has a 1.5-inch diameter pipe to use with your Starlink dish, although it requires a minor modification to connect with your Starlink.
- Starlink flashing mount: it’s an easy professional worry-free roof install. You can install this flashing mount under the layer of shingles and ensure a secure roof structure that leaks free. This mount also requires a Starlink pivot mount to mount your flashing mount securely.
How to Set Up Your Starlink Dish
Before mounting your Starlink roof mount, ensure you have a clear view of the sky away from obstructions to connect with the network effortlessly.
That’s why you should consider mounting your dish permanently above the ground. Here are factors to consider before Starlink roof mount installation:
The Direction your Starlink Dish Should Face
Your Starlink dish directions depend on your location; it should always face upwards. Set it up between 15- 35 degrees and angle it north.
The best part, Starlink offers an app that is very useful in aligning their dishes.
Starlink dish with a clear view of the sky
Can Starlink Dish Align Itself?
Yes, your Starlink satellite dish will move using its electric motors. However, this happens when it aligns itself after booting to find its best orientation.
But after your dish locks to the satellite, it will not need regular realigning.
Is There a Need to Move Your Starlink Dish After Installation?
Once you’ve installed the Starlink magnetic roof mount satellite dish, there is no need for manual alignment or readjustment to establish a connection with Starlink satellites.
Nevertheless, if newly erected buildings or trees obstruct your dish view, you must relocate it.
In such cases, use your Starlink app to identify a more appropriate position for the dish.
Step-by-step Process of Mounting Starlink Roof Mount Dish
When mounting a Starlink satellite dish, ensure you use the Starlink obstruction finder tool on the app to ensure you get the right spot with a clear sky.
However inclement weather may affect internet connection leading to slower speeds.
Follow these simple steps to mount your satellite dish:
Have a Wiring Plan
The Starlink satellite dish comes equipped with a 100-foot cable. To set up the cable, run it briefly on the exterior, crossing over the shingles and then loop it downwards through the attic.
Drill a Volcano Mount
Drill a pilot hole on your roof then mount the volcano. Proceed and drill six more holes then use the sealing patches to cover each hole.
Ensure you tighten all the bolts until the sealant squishes underneath the volcano mount.
Securely Mount your Starlink
Place the Starlink satellite dish into the volcano mount and secure it by clipping it into position. It’s crucial to ensure you stretch the cord out to prevent any tangling.
Route your Cable Under Fascia
Guide the cable along the fascia and create a small hole to thread it into the attic. After inserting the cable, seal the area with a cover to ensure it is waterproof.
Complete Routing of the Cable Inside
In the center of your house, set up your Starlink Wi-Fi router. Remember to set it up high or on top of a shelf.
Complete Installation
Turn on all the Starlink components and utilize an outlet tester to verify everything’s proper functionality.
The Starlink dish may autonomously adjust its position while aligning with the nearest Starlink satellite. Therefore, allow some time for it to find the optimal place.
Conduct Starlink Speed Test
Open your Starlink app and click the speed button.
After two minutes, the app should have finalized the speed test, and you will see your Starlink upload and download speed.
How Much Does the Starlink Roof Mount Cost?
Several factors can affect the cost of your Starlink roof Mount. This includes the type of roofing material and story number.
However, the average roof mount cost of a single-story metal roof is about $500.
FAQs
How Strong is Starlink Signal?
Standard Starlink packages offer internet speeds ranging from 50 to 200 Mbps.
The wide range is due to certain factors such as network congestion, weather and your location.
What is the Best Mounting for Starlink?
The ideal Starlink mounting will depend on what will suit your needs. However, most people usually prefer J-mount due to its availability, versatility and affordability.
How Many Connections Can Starlink Satellite Handle?
Starlink satellites can handle up to 200 connections simultaneously.
Though the number seems a lot, some services such as ClubWIFI can connect up to 8,000 devices.
Starlink Roof Mount: Final Thought
Every Starlink roof mount option is easy to install and your choice will depend on what suits you most.
Hopefully, our comprehensive step-by-step guide on Starlink roof mount is helpful.
It is important to remember the dish aligns itself after booting and rarely requires manual realignment.
However, the users can utilize the Starlink app to find a more suitable position if obstructions occur.
