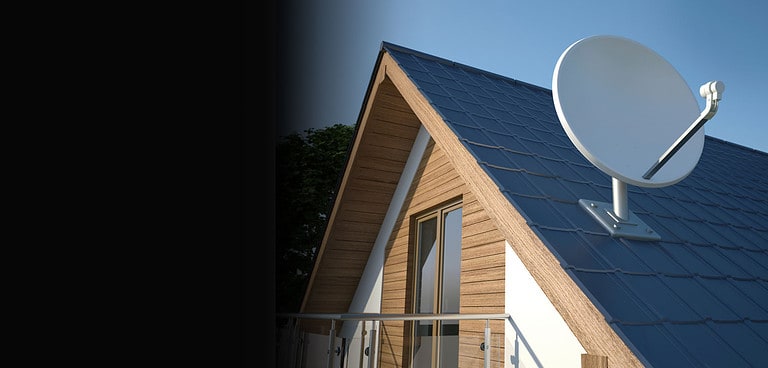
Whether you’ve got the heavy circular dish or 2nd-Gen rectangular dish, the Starlink volcano mount is one of the most secure mounts you can pick.
The standard Starlink dish comes with a 3-legged stock mount to start you off.
The Starlink volcano mount is built to hold any Starlink dish on your home’s or RV’s roof.
It takes up less space on the roof or chimney. Moreover, you can use it with another mount to get more clearance.
We’ll show you an easy-to-follow installation guide that will have your Starlink up and running in no time.
Table of Contents
- What Is Starlink Volcano Mount?
- Starlink Volcano Mount Install
- Starlink Volcano Mount Install Preparation
- FAQ
- Final Thoughts
What Is Starlink Volcano Mount?
The volcano mount for Startlink is a versatile accessory that allows you to hoist the Starlink dish on a stable base.
Unlike the almost similar flashing mount, the Starlink Volcano mount installs directly on the roof without displacing roof shingles.
The Starlink Volcano mount dimensions (6×9 inches) give it enough stability to stay grounded in windy weather.
Also, the dimensions make it a perfect fit for mounting it with a flashing mount.
Other dimensions that you must know while installing the volcano mount for Starlink include the following:
- 1/2“ galvanized lag bolts
- Four 2” long corner bolts
- Two 3” long center bolts
One of the reasons we recommend a volcano mount is its affordability.
According to users who’ve installed the units, a Starlink volcano mount costs about $24*.
You can buy an optional adapter for another $20-30.
Explore third-party sales options if you cannot get the volcano mount from Starlink. However, you may have to pay around $80.
* Prices are subject to change depending on availability and other variables.
Starlink Volcano Mount Install
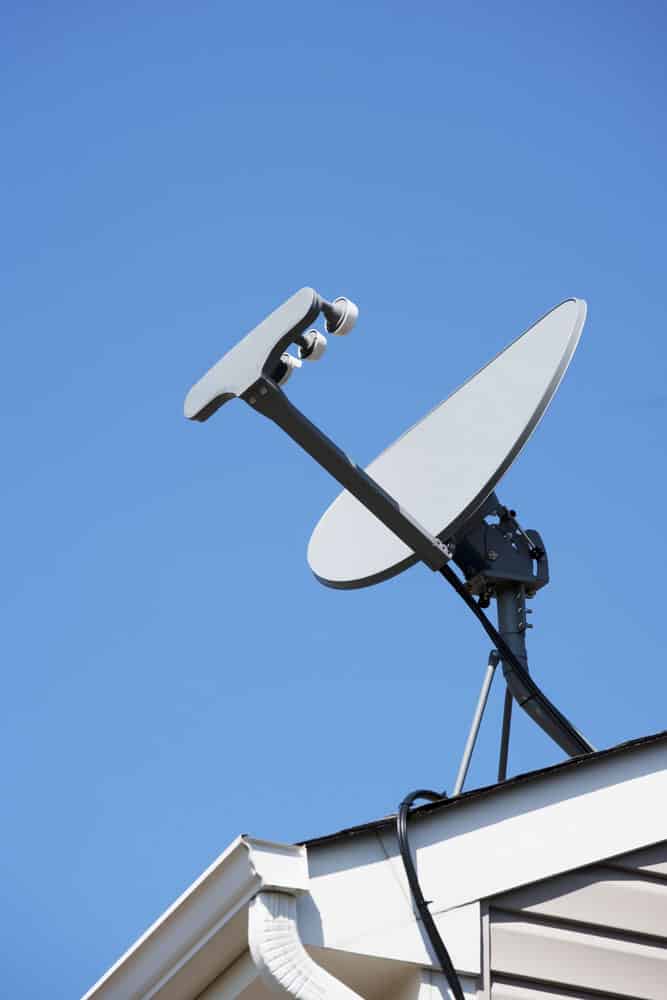
Secure the mount
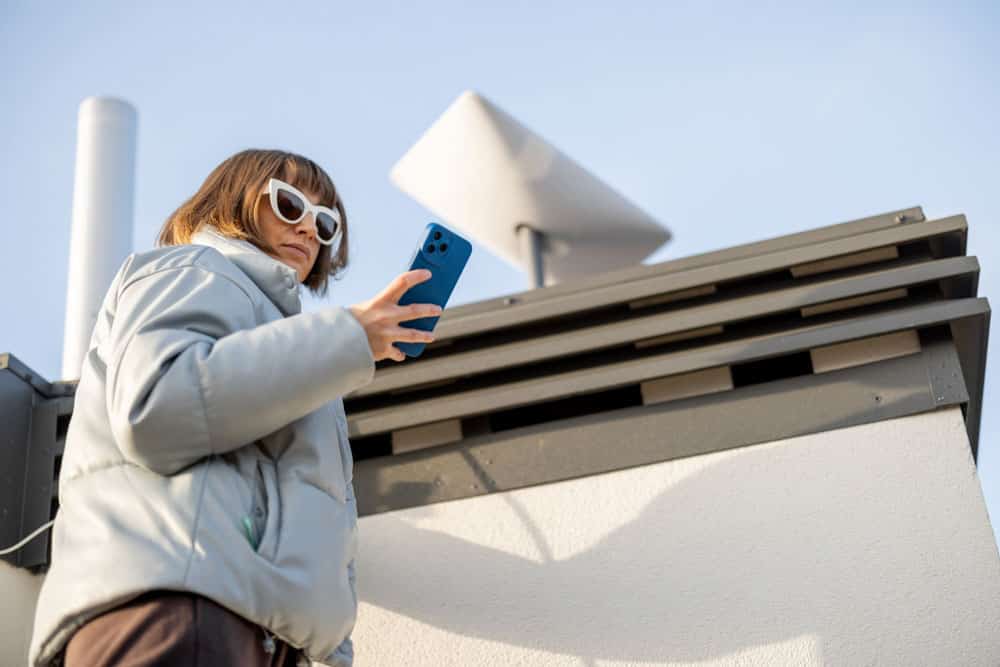
Check for obstruction before volcano mount installation
The Starlink volcano roof mount is one of the easiest to install. The kit comes with a complete illustrated manual with the procedure. In the kit, you’ll find the following items:
- A Starlink volcano mounts with six holes pre-drilled.
- Six lag bolts. They have a 1/4“ shank and ½” head.
- Sealing tape strip that acts as a sealant for the roof and any spaces that allow water infiltration.
- Sealing tape squares for the drilled holes.
- Cable management clips for cable routing
- A carrier bag to help you carry the dish up the roof and keep it from falling.
However, you will need additional tools for a successful installation.
- Stud finder
- A hand-held drill
- (You can fix a 1/2 “ hex bolt lag bolt header. It makes work installation easier than using the socket wrench)
- 5/32 drill bit for the pilot holes
- Safety equipment (a roof jack if you have a steep roof)
Starlink Volcano Mount Install Preparation
Installing the Starlink dish on a mount will be easier once you plan a cable route. That way, you can figure out the best spot in the house to put the indoor equipment.
We recommend drilling a ¾” hole in the side of your house. You can seal the hole once you pass the cable through the hole from the roof.
You have 100 feet of cable you can use for a clean installation.
Alternatively, drill a hole near the installation site on the roof and run the cable through the roof into the attic.
That way, less of your cable is exposed outside. You can also cover the cable on the roof to protect it from sunlight overexposure.
Volcano Mount installation
Find a stud on the roof.
Use your stud finder to find a strong anchor point for your mount. The stud is both thick and sturdy. Your volcano mount will hold steady.
Drill pilot holes for the mount
Position the volcano mount such that it sits squarely on the stud. Drill the six pilot holes with the 5/32 drill bit.
Seal the pilot holes.
Roll the Starlink-provided sealing tape squares into balls. Fill the holes until they are fully covered.
Ensure there’s some excess tape on the sides of the holes. Lay the sealing tapes on the filled pilot holes.
Place the volcano mount.
Line up the volcano mount so its pre-drilled holes rest on the sealing tape balls and sealing strips.
Press the volcano mount in place to get a firm hold.
Place the lag nuts into the holes. Place the lag bolt header onto the drill. Drive the lag bolt into place about 90% in.
Use the longer lag bolts in the middle holes. It makes the volcano mount more secure.
Finish with the other four lag nuts in the outer holes.
You can tighten them by hand with the wrench to ensure they’re secure but not overly tight.
The lag nuts are secure when the sealant seeps out from the edges.
Pro tip: You can substitute the sealing tape and sealing strips with rubberized wet patch roof leak repair.
It has a cone-shaped lid that hits better in holes. Press the sealant into the holes, filling the spaces more evenly.
Set the Starlink in place.
Assuming you carried the bag with the dish in it, insert it into position.
The volcano mount’s upper end fits perfectly with the Starlink mast.
However, you can use a U-bolt clamp where the mast and mount’s opening meet.
Make sure you install the dish within 35 degrees vertically. Otherwise, you’ll be hit with error messages like “Starlink Tilted Too Far.”
Lay the cable
Satellite cable management after installation
Depending on where you drilled the cable hole, pass it through and tie some of it to the pole. Roll it into a loop to get some free ‘service cable.’
Hint: Service cable is a few feet of cable that makes maintenance easy.
Cable management
Clip the first few inches of cable onto the roof. Follow the cable route you had pre-planned.
Run the Starlink satellite.
Reconnect the dishy to power. Ensure the dish searches for a signal, aligns and connects with a satellite.
It is easier to do the obstruction search before picking an installation spot.
Test your connection.
Run a speed test on the Starlink app on your phone.
You’ll know the installation was successful if the Starlink dish auto-searches for signal and locks onto a satellite.
FAQ
What type of roof can I install the Starlink volcano mount on?
The Starlink volcano mount will work on most roofs. However, the best roofs would be asphalt, shingles, or metal roof with underlying support structures.
Furthermore, the roof should not be too steep.
Can you install the put the Starlink volcano mount on the wall siding?
We would not recommend you install a volcano mount for Starlink on wall siding. Firstly, it would interfere with the satellite’s auto-alignment.
Also, the Volcano mount is short. While it can support up to 50 pounds, a horizontal installation or a steep vertical would accelerate the dishy’s wear and tear.
Final Thoughts
A Starlink volcano mount is a DIY-friendly accessory you can set up quickly.
With just a few additional tools, you can remove your Starlink from its stock mount and have a cleaner installation.
