
Starlink remote access is hardly a new feature. While it has always worked, it had limits that capped its functionality.
However, you can now do more remotely connecting to the Starlink app.
You can connect to Starlink remotely if connected to a working cellular or wireless network.
It’s easy to know you have remote access when you see the status changed from disconnected to online.
Use remote access to enable snow melt, stow Starlink and track Starlink stats.
We’ll look at how you can access Starlink remotely and control a few features from the Starlink app.
Table of Contents
- How To Remotely Connect To The Starlink App
- How To Use Starlink Remote
- Limitations When You Connect To Starlink Remotely
- Final Thoughts
How To Remotely Connect To The Starlink App
Connecting to a different network
- Disconnect from Starlink WiFi
- Ensure you have a stable working internet connection. It could be wireless or cellular.
- Open the Starlink app.
- Click ‘SELECT STARLINK.’ You’ll see the default status as DISCONNECTED. Clicking SELECT STARLINK will enable remote access. Successfully setting Starlink as remote will show you an ONLINE status.
Now you can control some Starlink features from your app in remote mode.
How To Use Starlink Remote
Resetting Your Starlink Network
As we covered in previous articles, a Starlink reset is vital in stabilizing your connection and getting your services running again.
If you’re running a smart home, you need your internet connection to be stable and running 24/7.
However, Starlink experiences outages sometimes. You can reset your Starlink remotely to stabilize speeds or get your router working again.
A remote reset makes it easy to keep your system online even when you’re away from your assigned residential address.
Enable Pre-Heat in Snow Melt
Snow melt is a nifty feature that comes in handy during the winter. It sets your Starlink in various states, ensuring your dish is snow-free and working perfectly during heavy snowfall.
Starlink snow melt has three modes; pre-heat, automatic, and off. Setting the snow melt in pre-heat keeps the dish warmed before the dish gathers too much snow.
You can put your Starlink in pre-heat mode while away from the router. All you have to do is access your settings from your smartphone and enable the feature.
Here’s how to enable pre-head mode in snow melt.
- Open the Starlink app.
- Go to Settings.
- Scroll down to Snow Melt. It’ll bring you three options, off, automatic, and pre-heat.
Reset Your Login Credentials
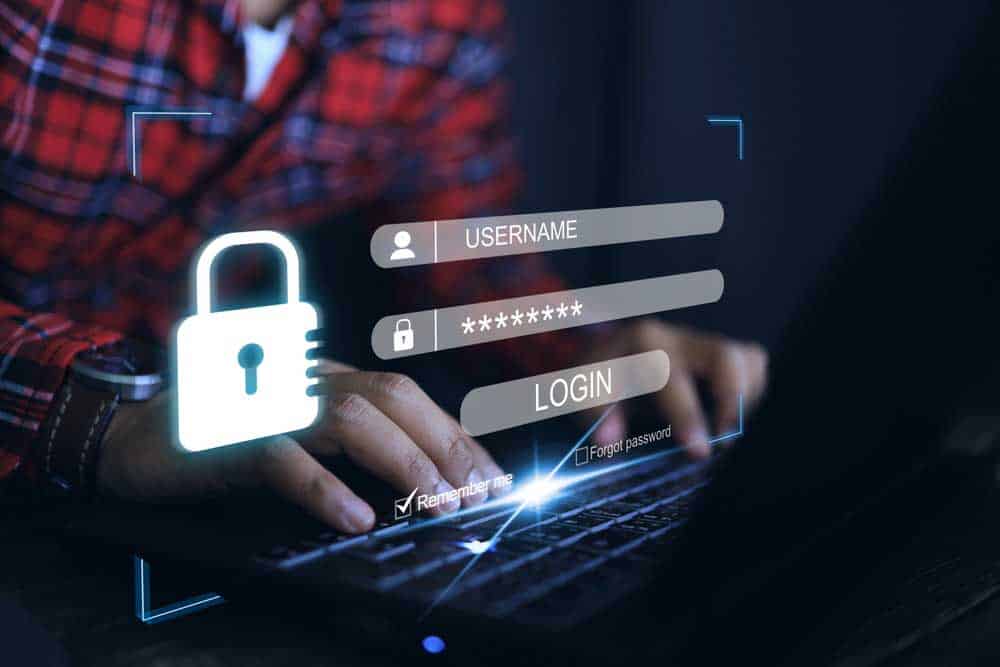
A user entering a new username and password
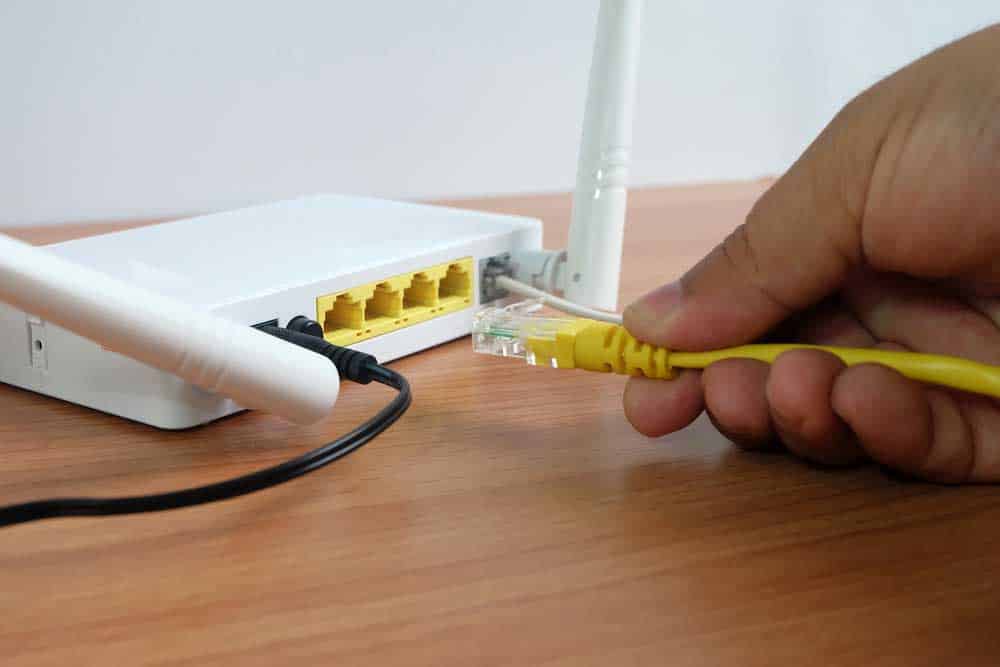
While you can have an Ethernet Starlink connection, the system is designed to be primarily wireless.
However, wireless networks are heavily prone to cyber-attacks. Resetting your Starlink username and password keeps your system secure.
Remote Starlink access enables you to change your username and password from anywhere using your app.
Resetting your login credentials is primarily more accessible via PC web.
However, follow the procedure below to reset your username and password remotely via the app.
- Open the Starlink app.
- Tap the NETWORK option.
- Tap WiFi configuration.
- Click CHANGE Name/Password.
- Set your username and strong, easy-to-remember password.
- Select SAVE.
You have new login details.
Track Your Starlink App Stats
As a newer satellite ISP, network stats in Starlink are vital.
The stats might be your cue to upgrade your Starlink plan, adjust your mounting, create a mesh to boost coverage or get a different ISP.
You can monitor your Starlink statistics remotely to give you real-time results even when you’re away.
Here’s how to check stats remotely on Starlink.
- Access your Starlink account when you open the app.
- Click ‘STATS’
- You’ll see network vitals such as download and upload usage and obstructions. Unfortunately, you can’t run a speed test at this point.
Stowing Starlink
One of Starlink’s helpful features is setting it back to its default orientation.
This feature is essential when sending a faulty dishy back to Starlink for troubleshooting or packing it pending relocation.
Starlink remote internet access allows you to reorient the dishy to its default position.
However, while in remote access, stowing doesn’t allow you to unstow and regain network service until you power cycle Starlink.
Furthermore, some users rather unplug the dishy than stow it since stowing might draw more power anyway.
Option 1: Through the app
- Open the Starlink app
- Go to Settings
- Scroll down. You’ll see Stow Starlink.
- Toggle to the right. If you do it remotely, you must confirm your choice.
- Click Ok when it pops up the ARE YOU SURE? Window.
Option 2: Without the app
- Remove the dishy from its mount. Ensure it’s plugged in and powered on.
- Carefully place the dishy facedown on a clean, flat surface.
- It will automatically tilt into the stow position after about 60 seconds.
- Unplug the dishy from the power supply to keep it in a stow position.
Note: You can disable stow only after 15 minutes after stowing it.
Limitations When You Connect To Starlink Remotely
Unfortunately, Starlink remote access doesn’t give you absolute control. Some features need you to connect to the Starlink wireless network.
You cannot run a speed test.
Technically, you can run a speed test when you connect remotely to Starlink.
However, you won’t get the results for your Starlink wireless internet speeds.
Instead, you will get the results of the wireless or cellular network you are using to access Starlink remotely.
So, You must be connected to Starlink wireless internet to get speed test results of your Starlink.
You cannot check or clear obstructions.
You can only check Starlink obstructions while connected to Starlink wireless.
Better yet, you must be physically near your dishy to check for obstructions and get a clear spot if you notice a problem.
Remote access for Starlink doesn’t always work. Technical hitches could stall or halt the process.
Fortunately, there are troubleshooting measures you can take to re-enable Starlink remote access.
Update Starlink Firmware
Starlink firmware updates roll out in batches to a section of users. Typically, the process is automatic as long as the dishy is connected to a stable working internet connection.
However, you can check for Starlink firmware updates.
Ensure your app stays updated, as well. Follow the procedure below to update your Starlink app.
- Go to your smartphone’s app store.
- Go to the search bar and type Starlink.
- Open Starlink.
- Click Update.
Alternatively, you can delete the Starlink app and re-install it.
Reboot Starlink
A Starlink reboot is an easy troubleshooting hack for most technical hitches.
Switch off the Starlink device, then switch it back on after 5-10 seconds. Also, switch off the network and switch it on again to reset the network.
If the above troubleshooting measures fail, factory reset Starlink.
Final Thoughts
Controlling Starlink while you’re away is a cool addition to the ISP’s array of great features.
Although there are limitations, the functions of remote access are still helpful.
Keep your app and network up to date and make it easy to access these functions from anywhere using the procedures we highlighted.
