
Starlink WiFi booster will help you extend the range of your router’s WiFi internet signal.
Starlink routers usually offer a limited internet coverage range that may not be enough for you in your home.
We have curated some tips to help you improve Starlink’s internet coverage in your home.
Table of Contents
What is the Range of a Starlink Router?
Before we offer some of the tricks to boost your WiFi router, you need to know the range you should expect from a Starlink router.
Starlink promised a 200 feet signal range with their routers. This is only possible if your router can obtain optimum performance.
However, depending on your location, Starlink router WiFi signals are prone to several interferences. For instance, solid obstacles within the router signal may shorten the range. These obstacles can shorten the range up to 75 feet only.
How to Boost Your Starlink WiFi Signal
Place your Router on Higher Ground
Putting your router low on the floor of the house can limit its signal coverage.
There are usually objects on the floor that can interfere with the signal and shorten its coverage.
So the first thing to do when you realize your WiFi signal coverage is limited is to try to raise the router.
Just locate the highest point in your house, such as your shelf and place the router or mount it up the wall as long as the cables connected can allow.
Use Starlink Ethernet Adapter
The adapter can help improve your WiFi efficiency by offering endless possibilities for wired connections.
Starlink routers only come with ports for the dish cable connection.
The adapter will offer extra ports to connect other devices, such as game consoles and printers, using an Ethernet cable rather than a wireless connection.
A cable connection is not prone to interference like the wireless one.
Here is how to connect the Ethernet adapter to the system:
- Unplug the cables (the power code and dish cable) from the router and connect the one from the Ethernet adapter to the port where you removed the dish cable. Push it gently until it clicks.
- Connect the cable from the dish to the adapter port to link the dish and the router through the Ethernet adapter.
- Insert the power cable into the router and turn it on.
Use Starlink Mesh Kit
Starlink Mesh kits are Mesh nodes or several Starlink routers with the same characteristic as your main Starlink router.
You can connect them to your dish and still function normally.
You connect these nodes to communicate with the main router without Ethernet cables.
One node picks up the signal from the main router and transmits it to the next node in that order depending on the number of Mesh nodes you have.
The last Mesh node then transfers the signal back to the main router.
This way, you can use them to extend the WiFi range in multiple rooms of your house.
You can set up Mesh nodes in simple steps.
- Identify the right location in your home to place the router. You can use a built-in WiFi scanner in your Starlink app to locate a place. The scanner will display a heat map indicating your home’s WiFi hotspots and weak points. Just walk around your home while scanning for signal loss.
- Take one mesh router to the room where you need a signal boost and plug it into power. Carry on with the scan as you add more Mesh routers.
- As you position the Mesh routers, your mobile will detect new Meshes. Each time, a notification will pop up, directing you to pair the Mesh to the main router.
- When you have fully placed the Mesh routers in position, accept the pairing to your Starlink router request.
- Finally, you will notice a new Mesh router to connect to your devices.
Use Signal Booster
A signal booster can help simplify your router signals for better device reception. You can set up a signal booster in simple steps:
- Turn on the signal booster devices by plugging them into the power source.
- Connect it to the Starink router via the adapter using an Ethernet cable. Remember we mentioned Starlink ports are only two, so for an extra port where you can connect the Signal Booster, you must use the Starlink adapter.
- Pair the WiFI booster with the Starlink router. You will use your WiFi name and password to connect.
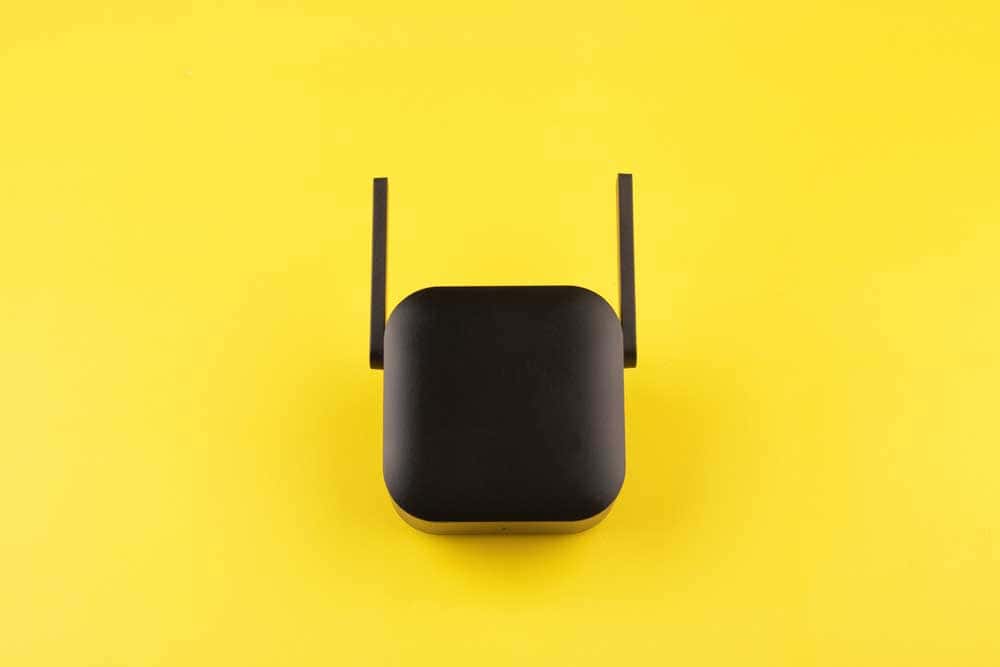
Black WiFi signal booster on a yellow background
Use a Third Party Router
Connecting another router with a Starlink router can also help extend the range of your WiFi.
If you use the second-generation Starlink dish, the most common now, you will need a Starlink adapter to offer a wired connection.
Set up the adapter as we described before, then connect the routers as follows:
- Plug the third-party router into the power socket, then use the WLAN cable to connect it to your Starlink router.
- Give it time until the red light on your router turns green.
- Let it search for the new network, then enter your password to connect.
The procedure for connecting a third-party router to 1st generation Starlink is similar to the 2nd generation.
However, the 1st Gen. router has enough ports so that you won’t need an adapter.
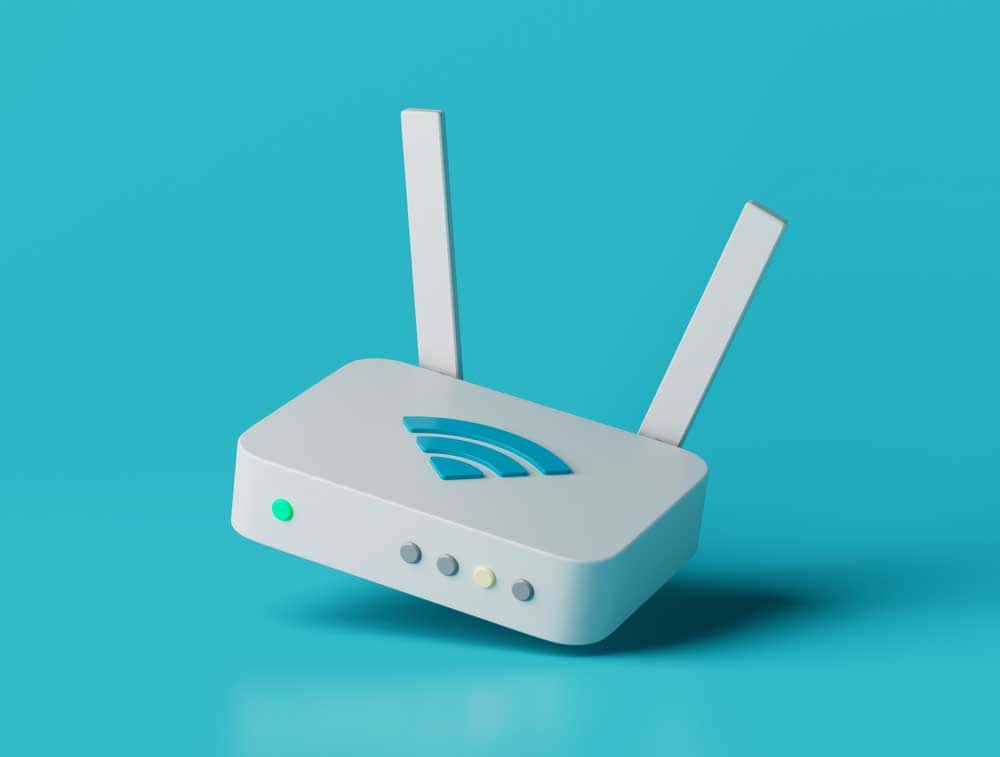
A simple white third-party router
Use WiFi Extender
WiFi extenders work by rebroadcasting signals from the Starlink router to areas with poor connections. You can purchase them from local shops or online.
To setup the extender:
- Turn the extender on by connecting it to a power socket. Once you connect it to power, it will start blinking while searching for a nearby router. Once it locates a nearby router, the blinking stops.
- Even if the extender is ready to connect, it will not transmit a data signal until you configure it. Use a PC to locate its IP address.
- Copy the address on a browser once you find it and open it to reveal the admin page. This page is where you will create an account and generate a password to access the extender network.
- The extender will then search for your Starlink router, and when you see it among the list on the admin page, custom the extender name.
- Once the setup is complete, you will see a green light signifying a stable connection.
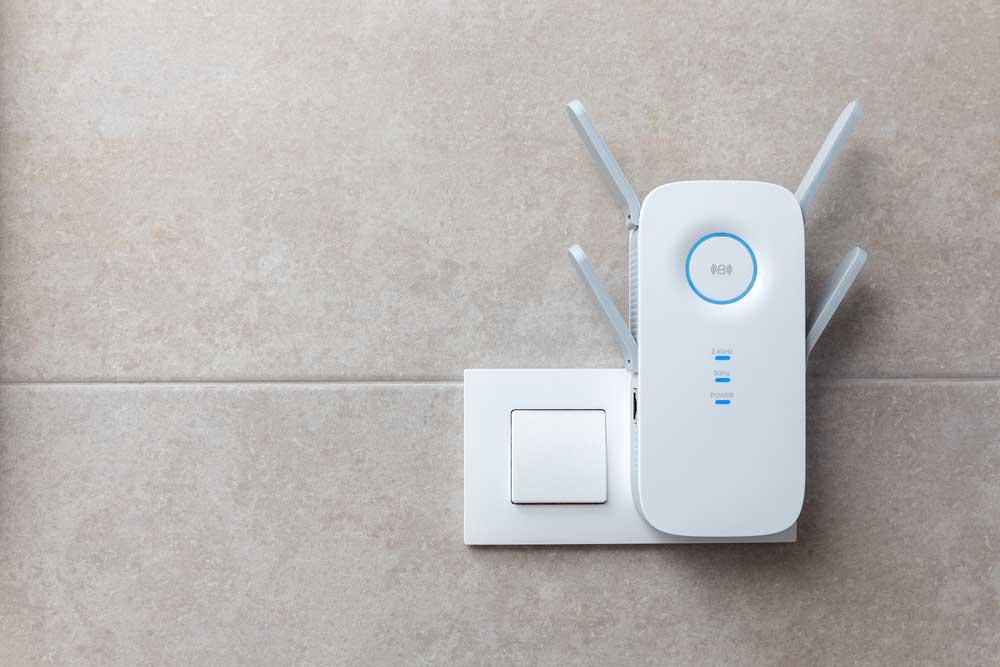
Extender in the power outlet
FAQ
What is the Best WiFi Booster for Satellite Internet?
Some of the boosters we found to have a good range include:
- TP-Link RE450 AC1750 WiFi Range Extender
- NETGEAR EX2700 WiFi Extender
- Winegard ConnecT 2.0 4G2
- WeBoost Home MultiRoom Call Signal Booster
How do WiFi Boosters Affect Internet Speed?
WiFi booster doesn’t reach the top speed attained by Starlink routers.
When you extend your WiFi range using a booster, you may see the speed reduced by half.
However, a half WiFi speed in part of your room that hardly receives a WiFi signal is a great boost.
Final Thought
Low-range Starlink internet coverage can be very disappointing in your home.
However, we have offered you tips that will help you ensure strong WiFi coverage in your home.
You can use cheaper tips such as using Ethernet cable or use expensive options such as Mesh nodes.
